
Keyframing
Keyframing in animation refers to the setting of character positions or qualities at specific points in time. We can use computers to easily interpolate, or gradually transition between the two settings. This saves the animator a lot of time.
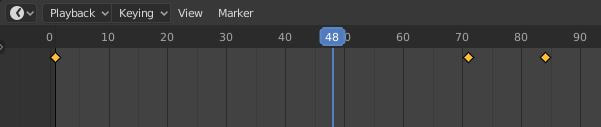
Keframes can be viewed in the animation timeline at the bottom of the Blender screen. The yellow dots represent keyframes. Note that you must click on a particular object to see the keyframes for that object.
Also note that there is a pre-set animation view within Blender.
Also note that there is a pre-set animation view within Blender.
To set a keyframe for an object, select the object, then while your mouse is in the viewport window, press "i" and choose the type of keyframe you want to set. There are options for location, rotation, scale, a combination of the three or others.
Keyframes can also be set for an object's properties. Just hover over the property in the properties panel and press "i" there.
Keyframes can also be set for an object's properties. Just hover over the property in the properties panel and press "i" there.
